With this never-ending quarantine, it seems impossible to simply just go to your local print shop like you used to. So now, we’re all learning workarounds and how to DIY various projects. While everybody’s trying their own Dalgona coffee, baking apple pies, and sewing their own clothes, we here at DeftPDF think that printing is also an art and a necessity. If you’re the type that fancies their own home poster but don’t quite know how to print it as large as possible, then this article will be your cup of tea.
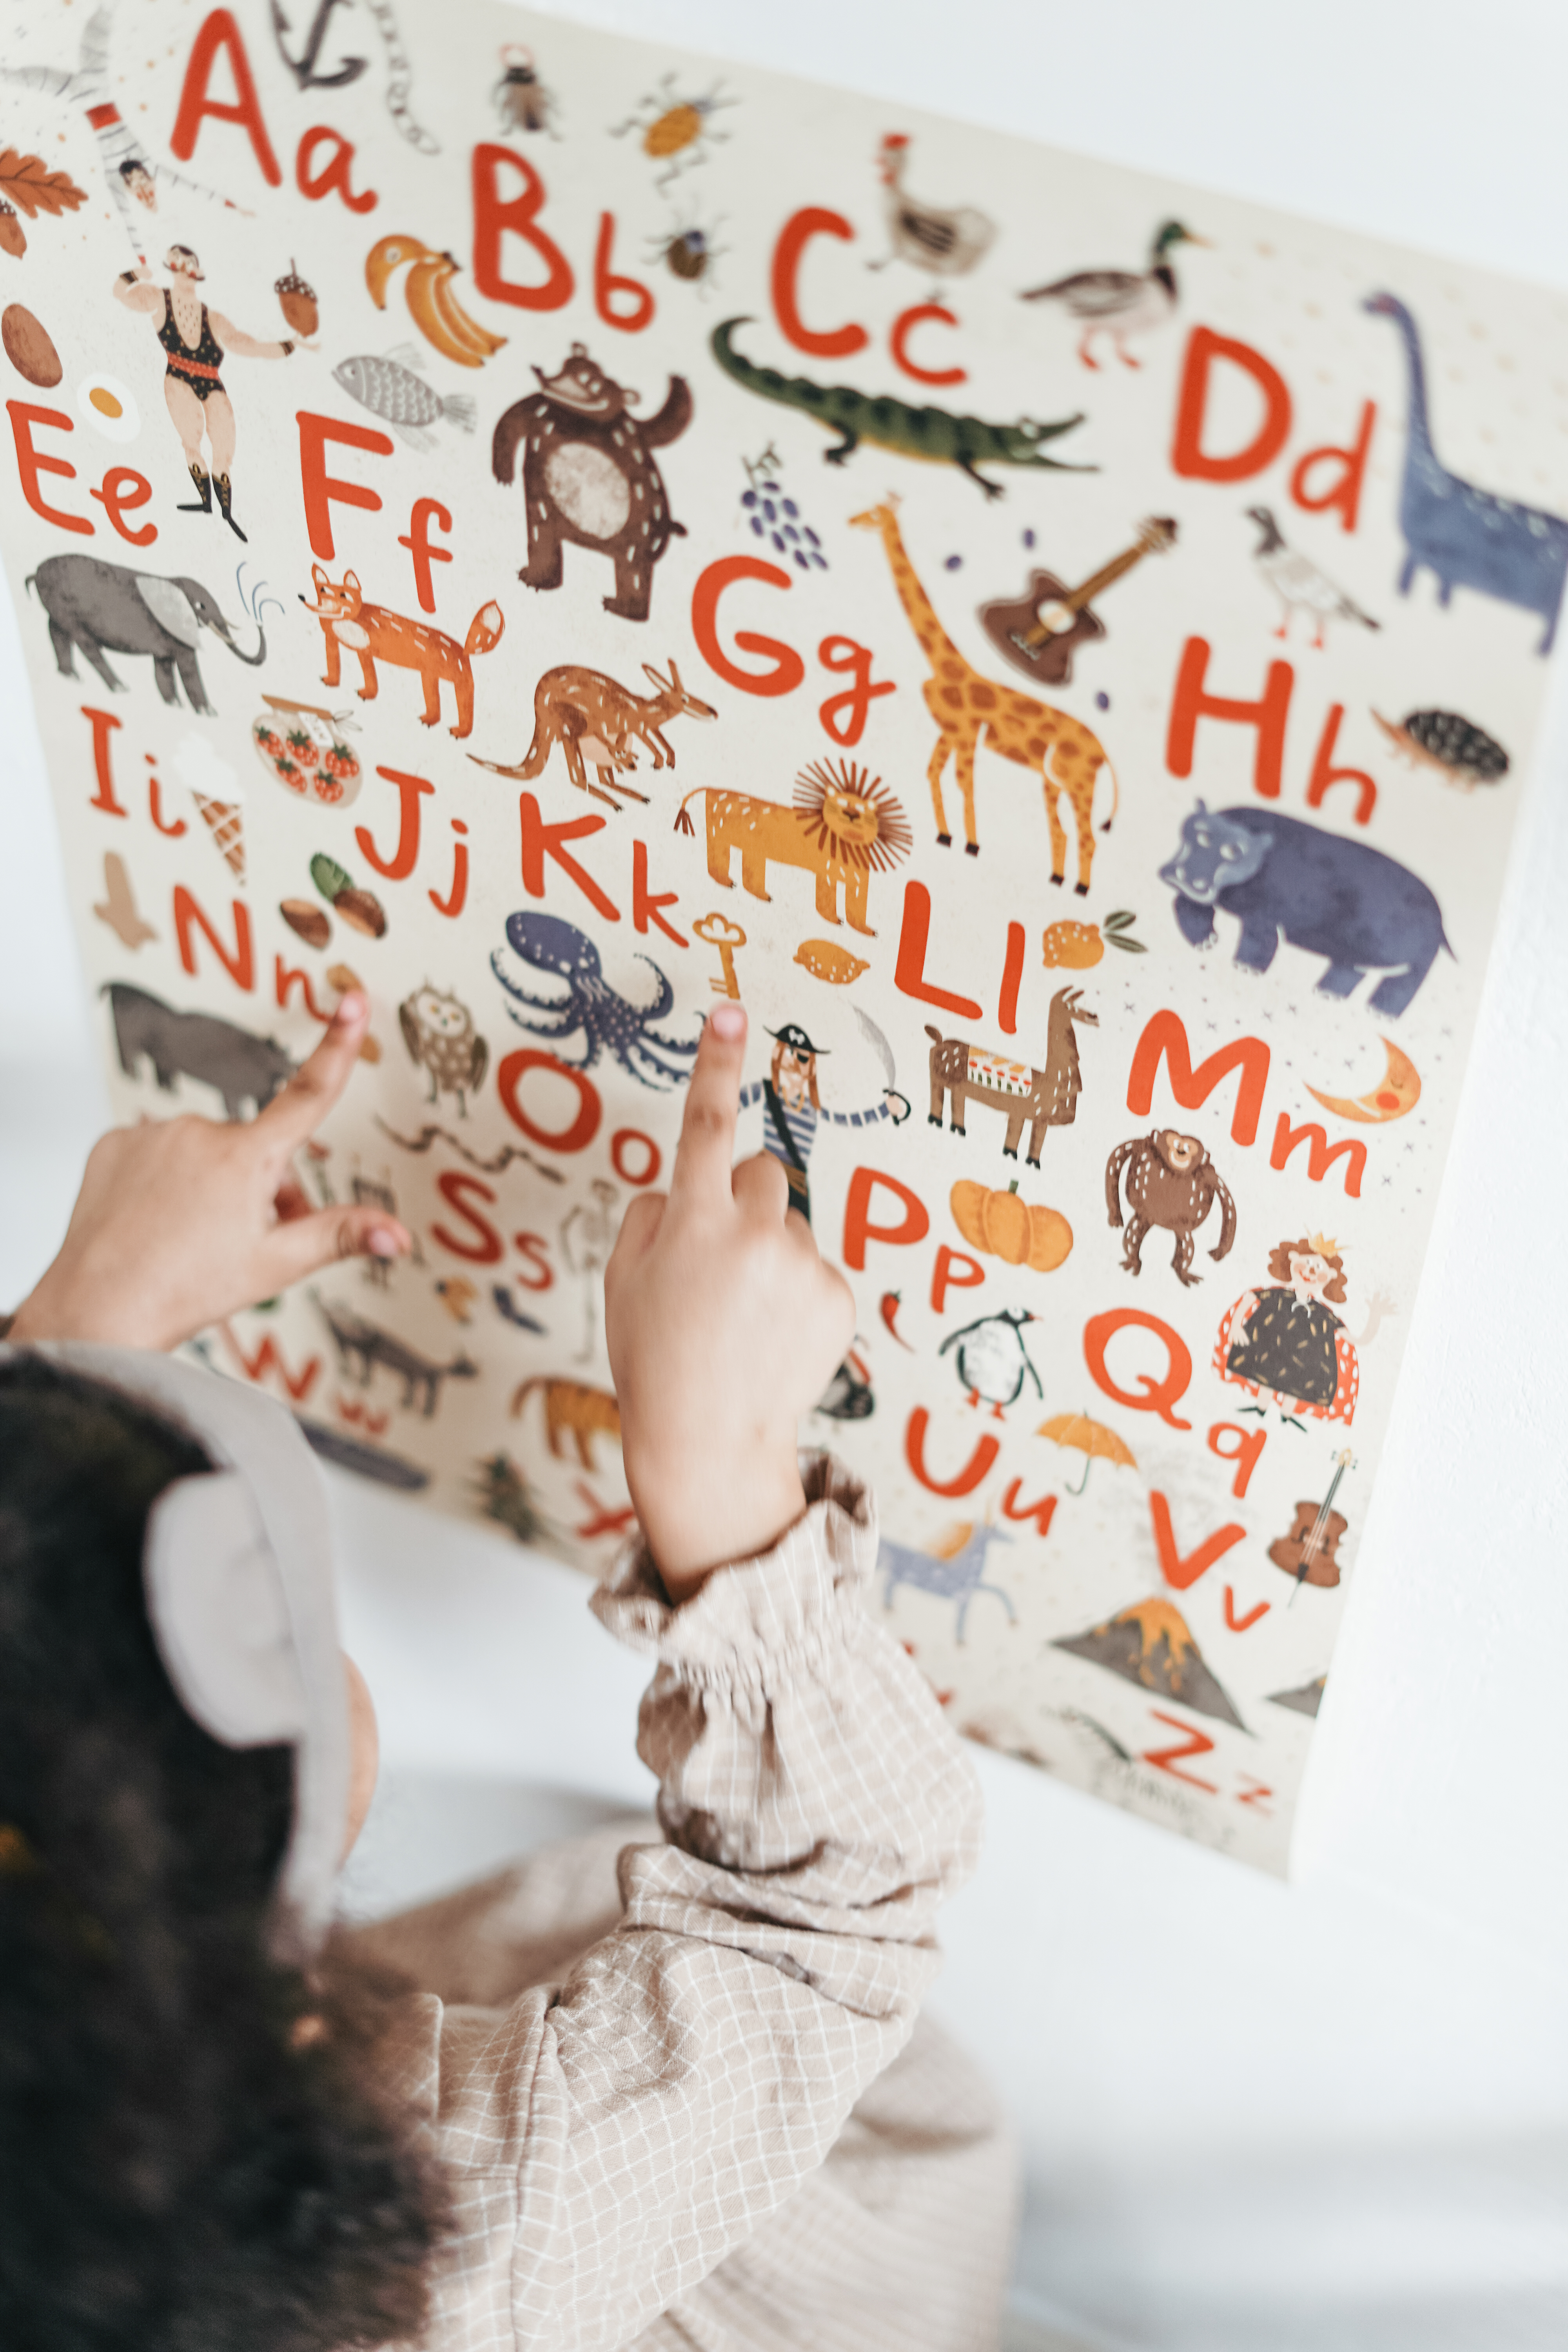
Did you know that you can actually create your own poster using tiled printing at home? You can do this on any file and you can even upcycle some old images or files and turn them into your wall art. You don’t need special software to do this. You just need your Adobe Acrobat reader (which is free to download and install), DeftPDF online tools to convert into PDF, and your regular printer at home!
What is tile printing?
Tile printing is a print option and a method that allows you to print an image or document as a large physical hard copy, by printing it over numerous pieces of paper. Like a puzzle, tile printing prints one part of the file on each sheet so you can put them together later on and create one big image. The name “tile printing” was derived from the method itself, where an image or a page is printed on multiple “tiles” ready to be lined up in grids to form a mosaic.
What you need to know
Before we start the step by step guide, you need to be familiar with a few terms first to be able to get optimal results. First and foremost, blowing up your image files into a very large poster doesn’t automatically adapt its quality to the size. If you try to print a very small photo of yourself into a very large canvas, you will probably get a pixelated image with dots on your face. Not so fun to look at eh? Well, if you want a clean slate image, you better modify and check the resolution of your file.
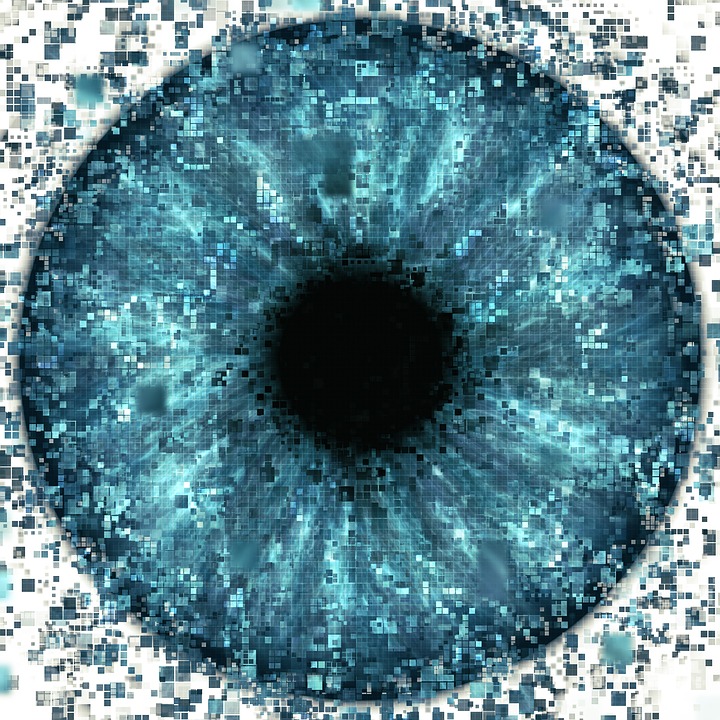
The image resolution is the amount of detail an image holds per millimeter or per pixel. The higher your resolution, the clearer or the more detailed your image can be. If you’re planning to print a poster, then obviously the resolution should be bigger too. Here are a few examples to give you an idea of how it should be.
|
Print Size/Product |
Minimum Image Resolution |
|
4x6 Prints |
540x360 pixels |
|
5x7 Prints |
630x450 Pixels |
|
8x10 Prints |
900x720 pixels |
|
Wallet Prints |
270x180 pixels |
|
11x14 Posters |
1008x792 pixels |
|
12x18 Posters |
2682x1788 pixels |
|
16x20 Posters |
2980x2384 pixels |
|
20x30 Posters |
4470x2980 pixels |
|
24x36 Posters |
5400x3600 pixels |
|
2x6 Banner |
1800x1440 pixels |
|
2x8 Banner |
1800x1440 pixels |
|
Notebooks |
1350x1000 pixels |
|
Notepads |
370x370 pixels |
Generally, the rule of thumb for posters is to have 300 DPI.
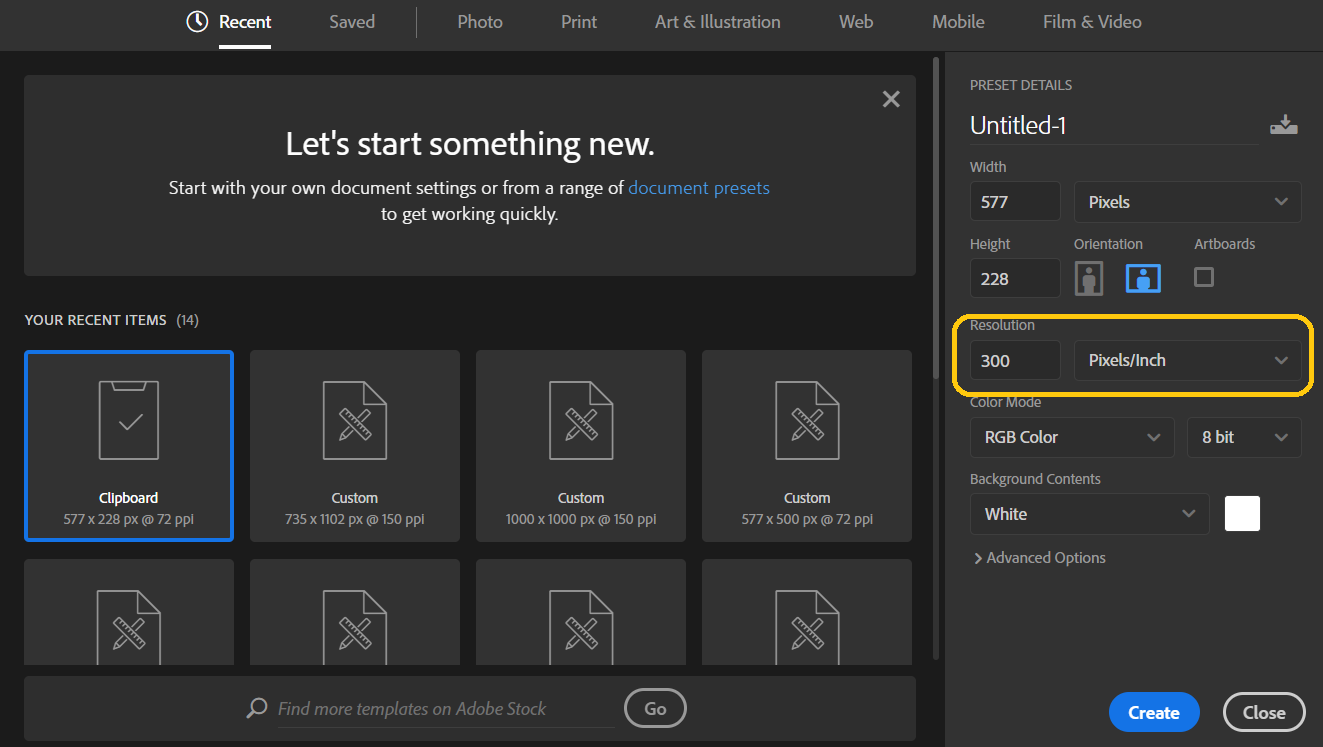
DPI or Dots Per Inch is the term used to determine how many pixels or how big the resolution is. Basically, when your printer says you need an image with 300 DPI, it simply means that the resolution of the image should be at 300 pixels per inch. If you’re using Photoshop to create your image, you can immediately set the DPI/resolution to your desired number.
Pixels is another term that you will probably hear a lot too. By definition, it is the area of illumination as displayed on the screen. In easier terms, pixels are the dots that make up an image. The more dots you have, the better the resolution, the clearer the image output. If you have a small resolution, you’ll probably have fewer dots which is why when you try to blow a small image up, it becomes “pixelated” – a term used when you can see gaps between these dots and don’t see a clear image.
When creating your poster, there are different image formats that you will also encounter. There are three common image formats to be exact – JPEG, PNG, and TIFF. The first one is the most common image file format of all because it has been the default format for cameras and phones. PNG on the other hand is best used for transparent backgrounds while TIFF is best for high-quality image files. You can read more about these and understand the difference from our article: How to convert PDF to Image for Free
On actual printing, it is crucial to modify and indicate your preference for two factors. First, is the Tile Scale – which fundamentally tells us how many tiles or sheets do you want your image to have? This also tells us how big you want your poster to be. Overlap meanwhile, is the amount each tile overlays on its adjacent tiles. When you tile print, the image will be printed in parts and what overlap does is to print a little bit of excess so you can tile them seamlessly.
How do I Tile Print?
Tile printing is not a common option to most applications so if you’re not techy on this subject, here’s an easy way to create your own poster using your home printer!
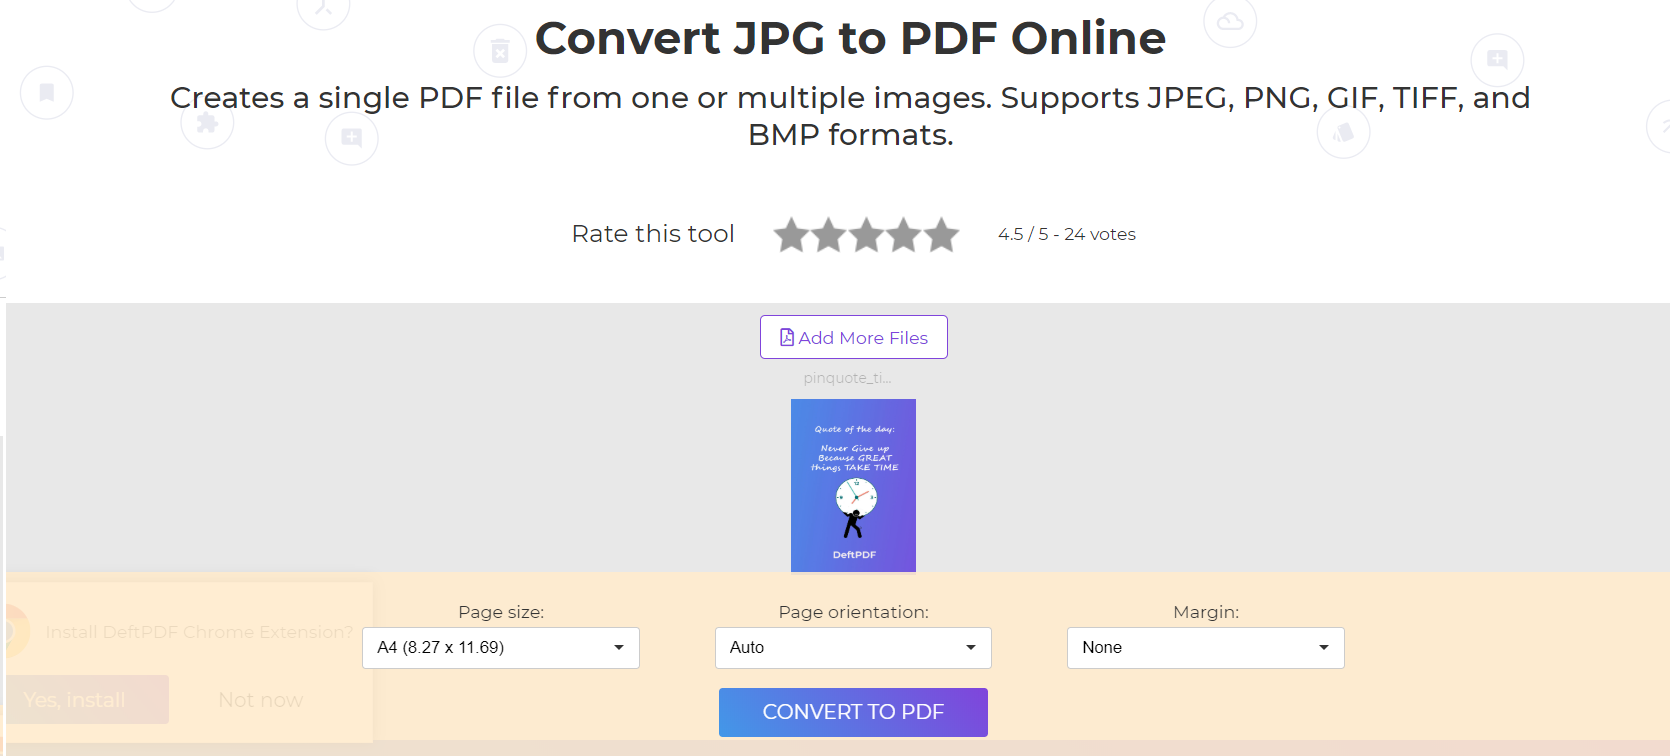
Step one: Convert your image to PDF using DeftPDF’s JPEG to PDF tool. This tool can convert JPG, PNG, or TIFF files into PDF. You can modify the image output according to your liking.
Step two: Install Adobe Acrobat Reader on your computer. This will enable you to view PDF files. Adobe Acrobat also has a poster option ready in its print settings.
Step three: Open your PDF file using the Adobe Acrobat Reader and print your file. Set your print settings to POSTER and modify the tile scale and overlap.
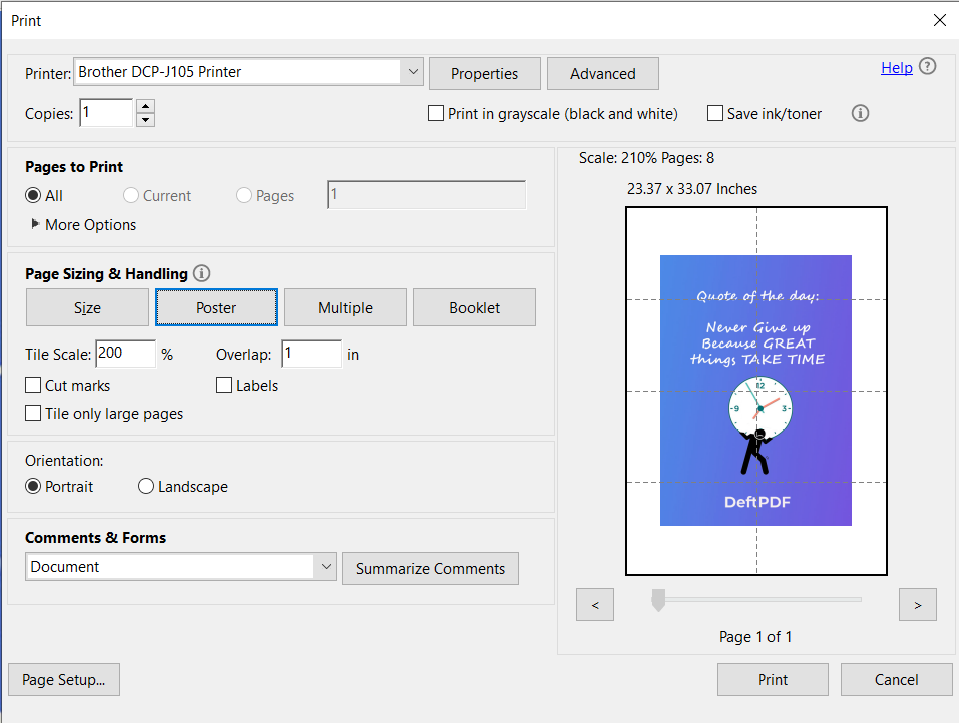
Step four: Print, cut some paper excess, and line up the tiles. Make sure to line them up first before you cut anything because you’ll only need to overlay on some. If you’ve used “overlap” then accidentally cutting more won’t be much of a problem.
Step five: Tack or glue your pieces together on your wall. Now you have your poster!
